
Why Chocolate Meringue Pie Is a Must-make Recipe
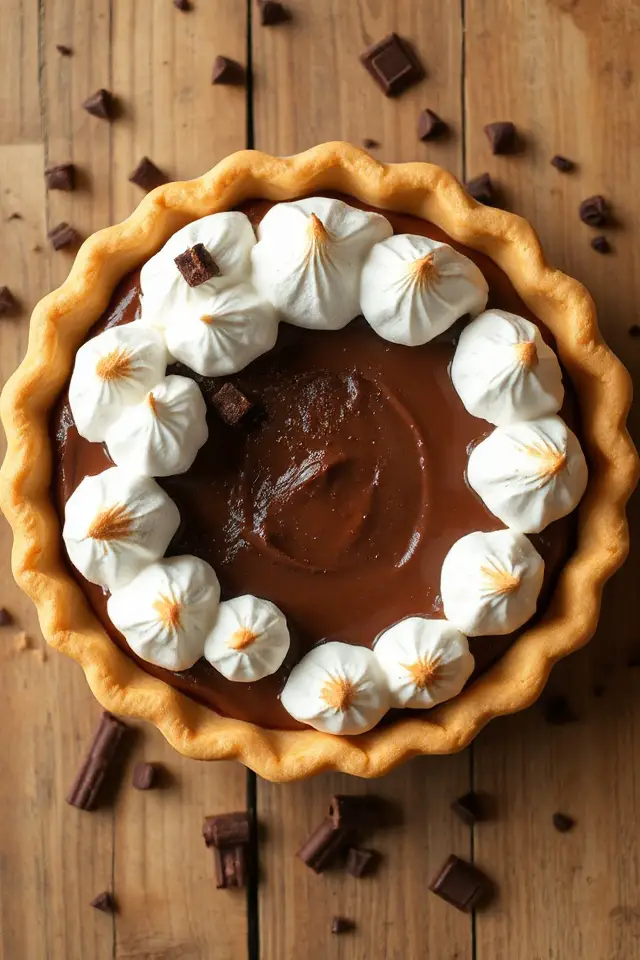
Why should you consider making a Chocolate Meringue Pie? For starters, it’s a dessert that combines rich chocolate with light, airy meringue, creating a delightful contrast in textures.
Each bite feels indulgent yet invigorating. Plus, it’s visually stunning, making it a showstopper at any gathering.
I love how the layers come together, with the glossy meringue crowning the silky chocolate filling. It’s easier to make than you might think, and the satisfaction of whipping up something so impressive is unbeatable.
Trust me; once you try it, you’ll wonder why you didn’t make it sooner!
Ingredients of Chocolate Meringue Pie
If you’re ready to plunge into the delicious world of Chocolate Meringue Pie, let’s talk about the ingredients you’ll need. This dessert is a delightful balance of rich chocolate filling and fluffy meringue, and having the right ingredients on hand is key to making it a success.
Don’t worry; it’s not as complex as it sounds. Once you gather everything together, you’re halfway to creating a showstopper that will have everyone asking for seconds. So, let’s get that shopping list rolling.
Ingredients:
- Pastry dough (for a 9-inch single-crust pie)
- 1 cup sugar
- 1/2 cup cocoa powder
- 3 tablespoons cornstarch
- 1/4 teaspoon salt
- 2 cups milk
- 3 egg yolks
- 1 teaspoon vanilla extract
- 3 egg whites
- 6 tablespoons sugar (for meringue)
Now, let’s talk a bit more about these ingredients. Sure, it might seem like a lot at first glance, but most of these are pantry staples.
The cocoa powder and cornstarch are what give that rich filling its deep chocolate flavor and the perfect silky texture. And the egg whites? Well, they’re the magic behind that fluffy meringue.
If you’ve ever tried making meringue before, you know that achieving those glossy peaks can feel like a high-wire act. But hey, if it doesn’t turn out perfectly, just remind yourself that you’re still making pie, and let’s be honest, even the imperfect ones taste pretty darn good.
How to Make Chocolate Meringue Pie
Alright, let’s plunge into the delicious world of making Chocolate Meringue Pie! First things first, you’ll want to start with your 9-inch pastry dough. If you’re feeling ambitious, you can whip up your own from scratch, or, you know, the pre-made stuff works just as well. Just make sure you line your pie pan with it and crimp the edges like a pro, because a good-looking crust is half the battle.
Next, you’re going to bake that crust until it’s fully cooked and golden brown. Once it’s out of the oven, let it cool completely. This is the perfect time to sip some coffee or maybe even sneak a bite of chocolate while you wait.
Now, let’s get to the filling, which is where the magic really happens. Grab yourself a bowl and mix together 1 cup of sugar, 1/2 cup of cocoa powder, 3 tablespoons of cornstarch, and 1/4 teaspoon of salt. Give it a good stir with a fork to blend everything nicely.
In a medium saucepan, whisk together 2 cups of milk and 3 egg yolks—yes, just the yolks, so save those whites for later! Add your sugar-cocoa mixture into the saucepan and set it over medium-high heat. This part is like a cooking workout; you’ll want to stir often until it starts bubbling gently.
Lower the heat to medium and keep stirring for about 3 to 5 minutes until it thickens up and gets that shiny, silky look. Stir in 1 teaspoon of vanilla extract for a touch of flavor, then pour this luscious filling into your cooled pie crust.
Now, for the grand finale: the meringue! Preheat your oven to 325°. In a large bowl, beat the 3 egg whites with an electric mixer until they’re all foamy. Increase the speed and watch as they transform—add in 6 tablespoons of sugar gradually, two tablespoons at a time, mixing well after each addition.
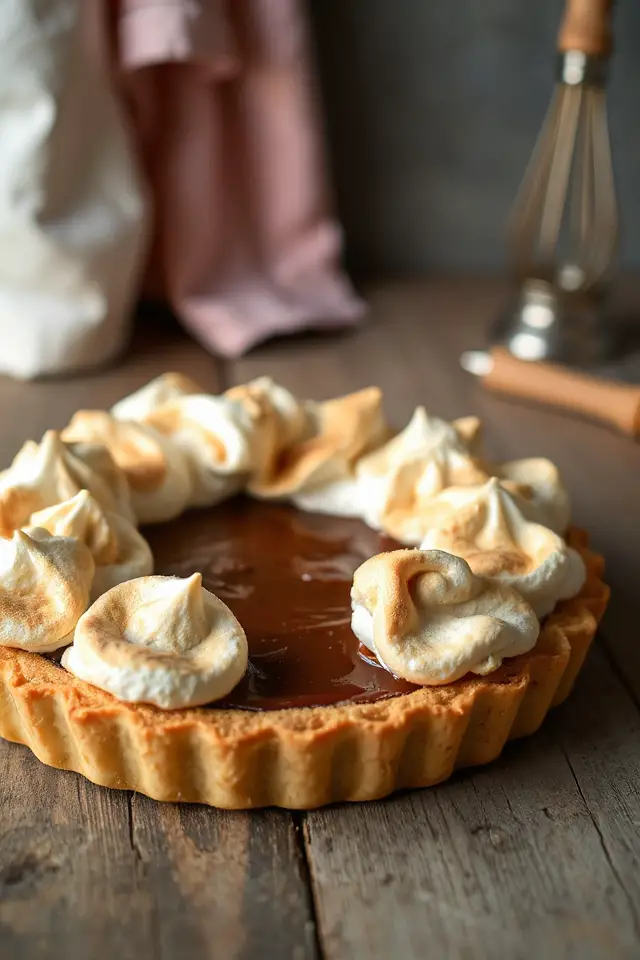
You want that meringue to be thick, shiny, and able to hold those beautiful peaks. Spread the meringue over the filling, making sure to seal those edges to the crust completely—this prevents any sneaky weeping! Give it some flair by forming curly peaks with a spoon.
Pop the pie in the oven for 10 to 15 minutes until the meringue is golden brown. Once it cools to room temperature, slice it up, serve it, and get ready for the compliments to roll in. Just remember, even if your meringue isn’t perfect, you’re still creating an irresistible pie that’s sure to impress.
Chocolate Meringue Pie Substitutions & Variations
Creating a delicious Chocolate Meringue Pie opens the door to plenty of room for creativity with substitutions and variations.
For a gluten-free option, try using almond flour for the crust. If you want a richer chocolate flavor, swap in dark chocolate for some of the cocoa powder. You can also experiment with different extracts like mint or orange instead of vanilla.
For the meringue, use aquafaba instead of egg whites for a vegan twist. Finally, consider adding a layer of sliced bananas or berries for a fruity surprise.
The possibilities are endless, and I encourage you to make it your own!
What to Serve with Chocolate Meringue Pie
What pairs perfectly with a luscious slice of Chocolate Meringue Pie? I love serving it with a dollop of freshly whipped cream, which adds a light and airy contrast to the rich chocolate filling.
A scoop of vanilla ice cream is another delightful option, melting gently over the warm pie. If you’re feeling adventurous, a sprinkle of sea salt enhances the chocolate’s flavor beautifully.
For drinks, a strong cup of coffee or a glass of cold milk complements the pie’s sweetness.
Ultimately, it’s all about balancing the flavors to elevate this decadent dessert experience. Enjoy!
Additional Tips & Notes
When serving Chocolate Meringue Pie, keep in mind a few helpful tips to guarantee your dessert shines.
First, always let the pie cool completely before slicing; this helps the filling set properly. If you want to prevent a weepy meringue, make sure to spread it over warm filling.
For a more decorative touch, use a spatula to create peaks and swirls in the meringue.
Finally, store leftovers in the fridge, but try to enjoy the pie within a couple of days—meringue can lose its texture over time.
Trust me, these small details make a big difference!