
Why Homemade Chocolate Syrup Is a Must-make Recipe
When I think about chocolate syrup, I can’t help but feel that making it at home is a game changer.
There’s something magical about creating my own version that beats store-bought options. I get to control the sweetness and richness, tailoring it to my taste.
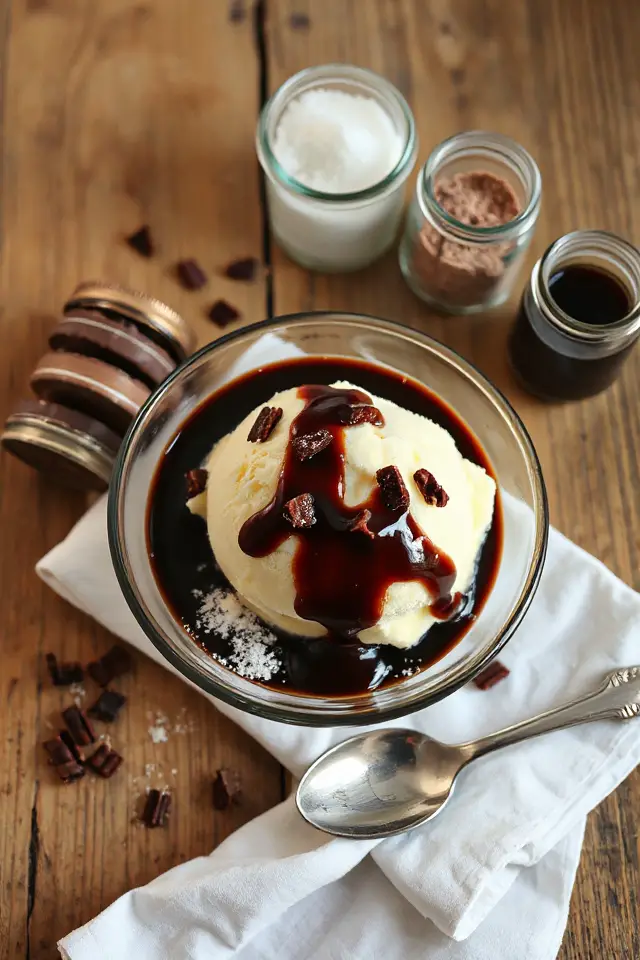
Plus, there’s no mystery about the ingredients; I know exactly what goes into my syrup. It’s perfect for drizzling over ice cream, pancakes, or even in my morning coffee.
Each time I whip up a batch, it feels more special than just grabbing a bottle from the shelf. Homemade truly elevates the experience!
Ingredients of Homemade Chocolate Syrup
When it comes to whipping up a delicious batch of homemade chocolate syrup, having the right ingredients is key. Luckily, you don’t need a long grocery list filled with exotic items. Instead, you’ll find that the essentials are quite simple and probably already lurking in your pantry.
This recipe is all about bringing out that rich, chocolatey goodness without any fuss. It’s perfect for those moments when you want to treat yourself or impress guests with a decadent drizzle on desserts. So, let’s get into what you’ll need to create this sweet delight!
Here’s what you’ll need for your homemade chocolate syrup:
- 2 cups sugar
- 1 cup water
- 3 tablespoons cocoa powder
- 1 pinch salt
- 1 teaspoon vanilla extract
Now, while these ingredients are straightforward, there are a few things to take into account. For instance, opt for unsweetened cocoa powder to keep things balanced and avoid an overly sugary syrup.
If you’re feeling adventurous, you could experiment with different types of sugar, like brown sugar, for a deeper flavor. And don’t skimp on the vanilla—trust me, it adds a lovely warmth that rounds out the chocolatey richness.
Plus, this syrup can be stored in the fridge for weeks, so you can make a big batch and have it on hand whenever the chocolate cravings hit!
How to Make Homemade Chocolate Syrup
Making your own chocolate syrup might sound a bit intimidating, but trust me, it’s as easy as pie—or should I say, as easy as chocolate syrup? Grab your medium saucepan, and let’s get cooking.
First up, you’ll want to combine 2 cups of sugar, 1 cup of water, 3 tablespoons of cocoa powder, and a pinch of salt in that saucepan. It mightn’t look like much at this stage, but don’t worry; magic is about to happen. Stir it all together until you have a smooth mixture—no lumps allowed, unless you’re into that kind of thing.
Now, place your saucepan over medium heat and bring the mixture to a gentle boil. This is the fun part—watch as it bubbles and transforms into something glorious. Once you hit that boiling point, let it boil for two minutes, stirring constantly. Yep, you read that right. Keep stirring, or you might end up with a burnt bottom, and nobody wants that.
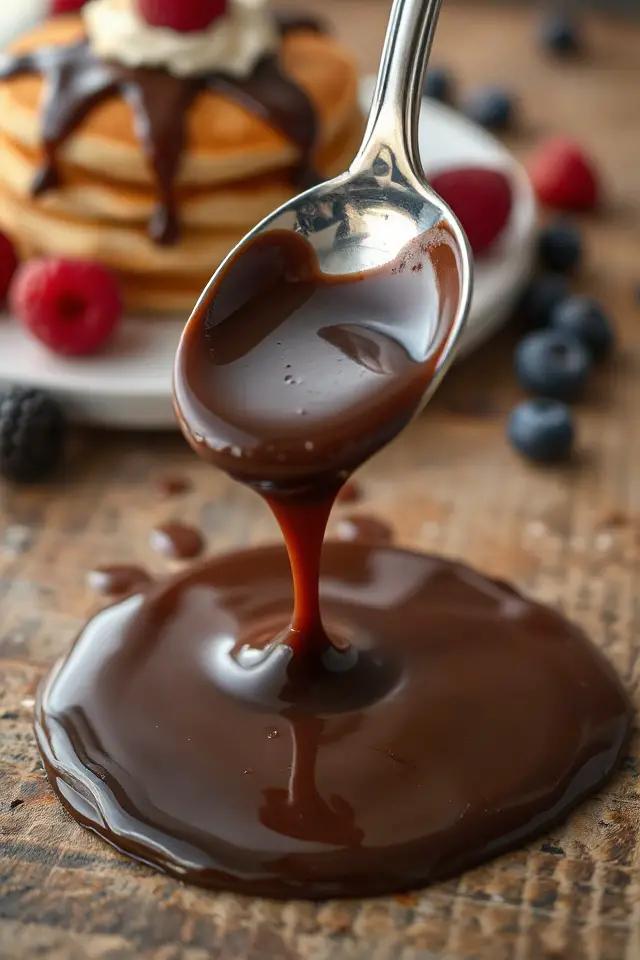
After two minutes, remove the saucepan from the heat and add 1 teaspoon of vanilla extract. The smell that wafts up will make you feel like a kitchen wizard. Allow the syrup to cool completely before you dig in, and just like that, you’ve got a rich, velvety chocolate syrup ready to drizzle on anything your heart desires.
Now, if you’re anything like me, you might find yourself standing over the saucepan, spoon in hand, taste-testing a bit too much. But hey, quality control is important, right?
Once it’s cooled, you can store your homemade chocolate syrup in the fridge for weeks. Just keep it in a sealed container, and you’ll always have that sweet chocolate goodness at your fingertips.
Whether you’re drizzling it over ice cream, pancakes, or simply indulging in a spoonful straight from the jar (not that I’d know anything about that), this chocolate syrup will elevate your desserts to a whole new level. Enjoy the sweet journey!
Homemade Chocolate Syrup Substitutions & Variations
If you’re looking to shake things up a bit, there are plenty of substitutions and variations you can try with your homemade chocolate syrup.
For a richer flavor, swap out half the sugar for brown sugar or add a tablespoon of brewed coffee.
If you’re feeling adventurous, try incorporating a dash of cinnamon or a splash of peppermint extract for a festive twist.
You can even use honey or maple syrup instead of granulated sugar for a natural sweetener.
Each variation can elevate your syrup, making it unique and tailored to your taste.
Enjoy experimenting!
What to Serve with Homemade Chocolate Syrup
Homemade chocolate syrup can elevate a variety of dishes, transforming simple treats into decadent delights.
I love drizzling it over vanilla ice cream for a classic sundae experience. It’s also perfect for pancakes or waffles, adding a rich layer of flavor to breakfast.
If I’m feeling adventurous, I’ll use it in milkshakes, blending it with ice cream and milk for a chocolatey twist.
Don’t forget about fruit! Strawberries or bananas dipped in chocolate syrup make for an indulgent snack.
With so many options, you can’t go wrong serving this syrup anywhere sweetness is desired!
Additional Tips & Notes
When it comes to enjoying your homemade chocolate syrup, a few additional tips can really enhance your experience.
First, store it in an airtight container in the fridge to keep it fresh for weeks. If it thickens, just warm it up slightly before using.
You can also tweak the sweetness by adjusting sugar levels; less sugar makes it less sweet, while more intensifies the flavor. For a richer taste, try adding a splash of brewed coffee or a pinch of cinnamon.
Finally, experiment with different toppings—whipped cream or nuts take your dessert to the next level. Enjoy your syrup!